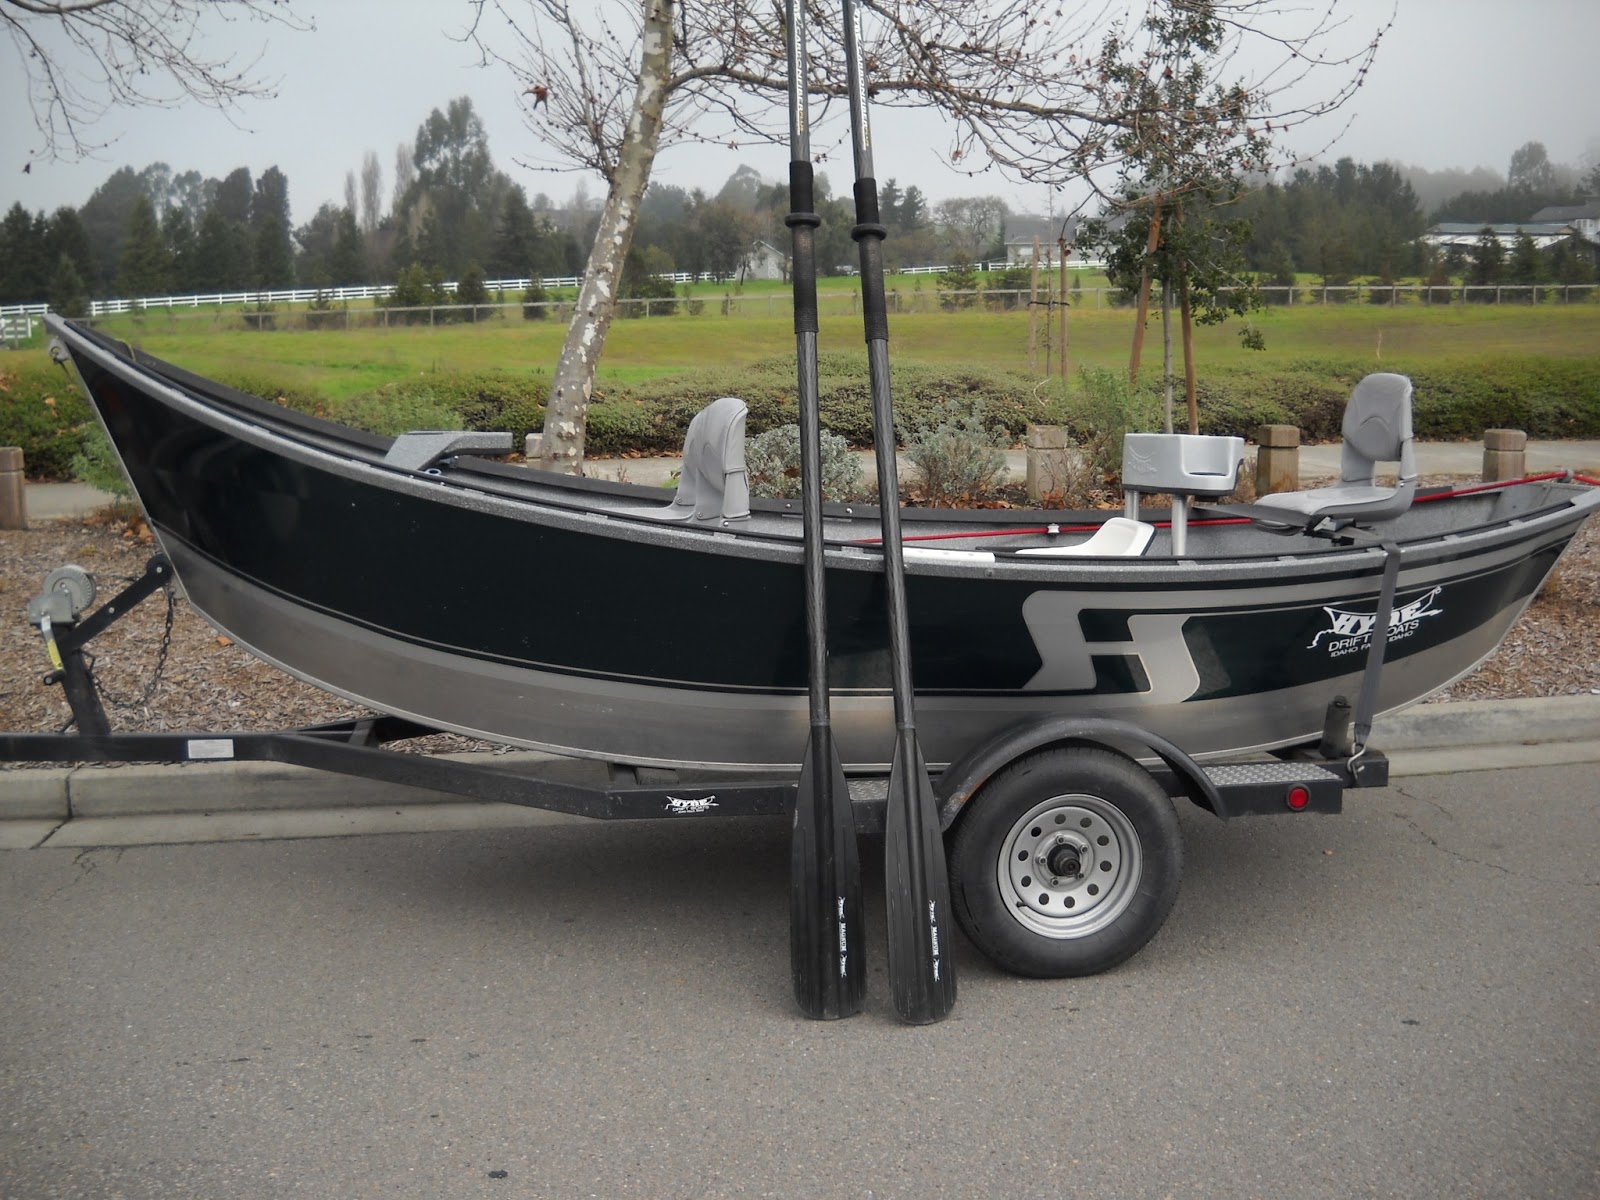
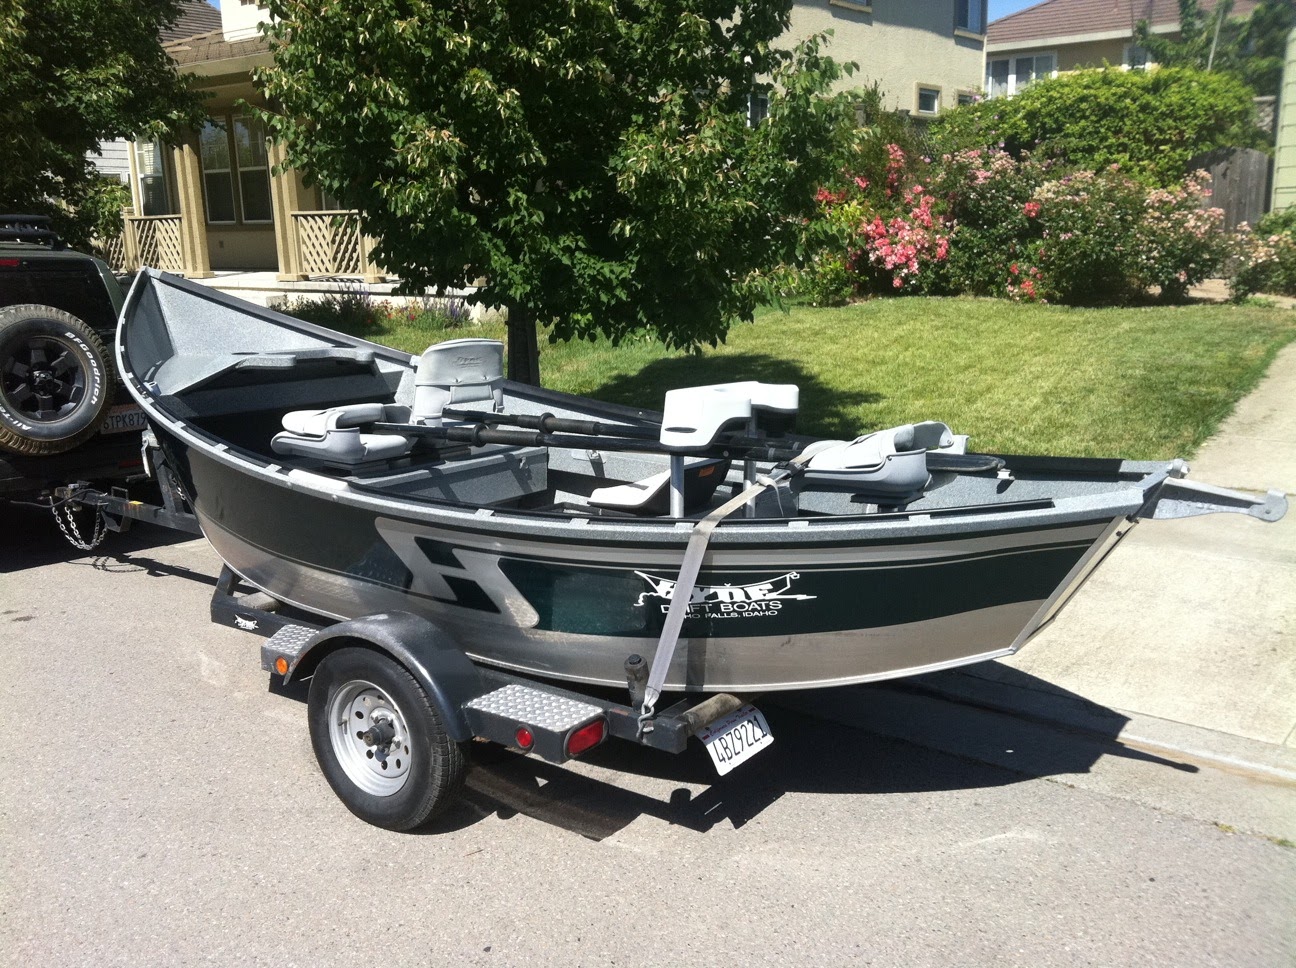
HOW TO REPLACE THE BEARINGS IN A HYDE DRIFT BOAT TRAILER
BEARING PART # = L44649 (INNER AND OUTER)
RACE PART # = L44610 (INNER AND OUTER)
SEAL PART # = 15192 TB (ORIGINAL SEAL FROM THE TRAILER
SEAL DIMENSIONS = 1.5" ID x 1.983" OD x .25" THICK
Lift the trailer and support on jack stands. Spin one wheel while gently tapping the hub end cap.

Gently pry the cap off.

Gently pry the nut retaining clip off, paying attention to how it was installed.

Retaining clip removed.

Remove the nut. This one was only hand tight.

Remove the flat washer behind the nut. Note the flat inner section of the washer. This washer can only be clocked in one position when reinstalled.

Pull the hub assembly.

Pull the outer bearing.

A view of the outer bearing cup, or race.
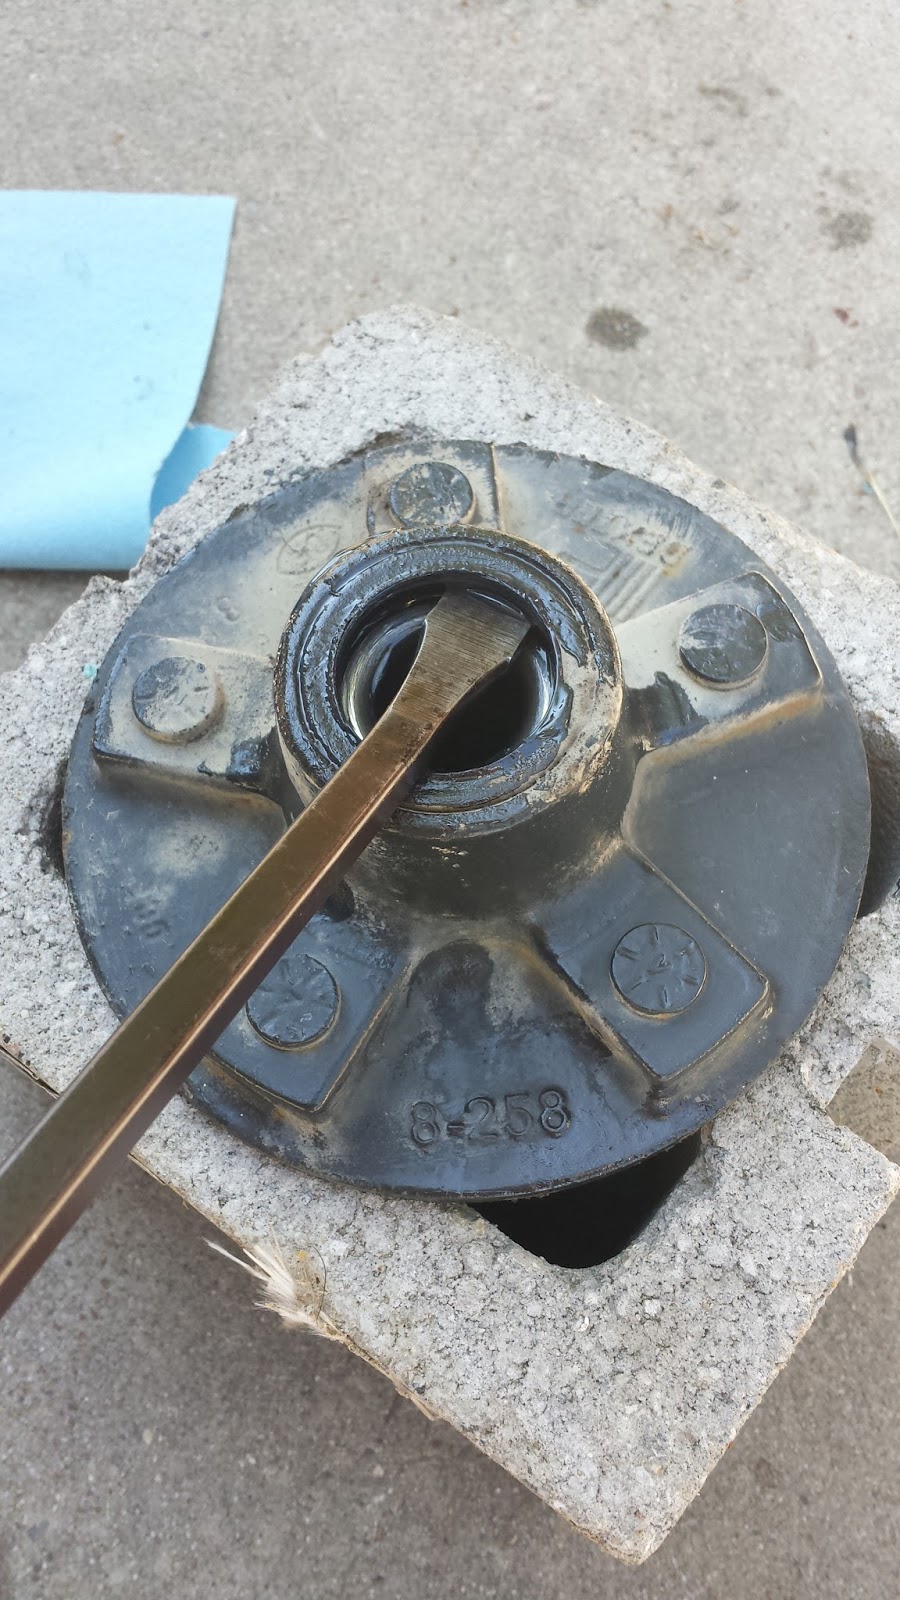
A view of the backside of the hub assembly. Gently pry the seal out with a pry bar, being careful not to score the inner wall of the hub assembly.

Seal removed.

Pull the inner bearing out. This is a view of the bearing with the grease cleaned off. Note there are no rust spots or pits on the rollers.

Next remove the inner and outer races. This will require a hammer and brass drift (punch). The brass drift is softer than steel, and will allow you to knock out the races without scoring the inner wall. You may want to tap around the race in a circular motion to evenly push the race out.

A view of the rear hub assembly. Note I am reaching through to the outer race to knock it out.

The outer race removed.

The inner race removed. Now is the time to completely remove all of the old grease from inside the hub assembly. I recommend having a roll of shop paper towels and a garbage bag nearby. Nitrile gloves are nice during this entire process as well.

The new outer race to install.

I used a wood block to begin setting the outer race into place inside the hub assembly. The wood block will not dent / damage the steel race. It is critical the race not be scratched / dented / damaged during this process.

A view of the outer race fully seated in place inside the hub assembly. It works will to tap the race in a 12 o'clock, 3 o'clock, 6 o'clock, 9 o'clock circular pattern to push it down into place evenly. There is a machined shoulder the race will seat against and it's critical the race is seated against the shoulder tightly with NO gap.

A view of the inner race seated in place. At this time I sprayed out the entire hub assembly with brake cleaner to remove all remaining grease / foreign objects from the hub assembly. The brass drift will leave tiny little chips inside the hub that need to be flushed out, and brake cleaner works well.

A view of a bearing grease packer I used to pack the bearings.

Bearing inside the packer ready for grease.

A view of the grease packed bearing. Note the grease squishing out between the rollers. I used marine grade grease (blue).

Finish by smearing grease all over the outside of the bearing and you're done.

A view of the greased inner bearing placed into the hub assembly.

The seal ready to be installed.

The seal installed. I used a wood block and hammer to press the seal into place. Make sure to press it in evenly so as not to damage it.

The outer bearing set in place in the outer race inside the hub assembly.

The hub assembly ready to reinstall. Note the amount of grease that can be seen inside the hub assembly. I put about 50 pumps of grease inside the hub assembly and smearing it around evenly by hand to get as much grease as possible into the assembly before reinstalling it. I also pumped grease into the zerk on the spindle seen in the photo to chase out the old grease until new grease could be seen flowing in.

With the hub assembly in place, Clean the washer with brake fluid, dry it, and replace it on the spindle.

Clean the spindle nut with brake cleaner, dry it, and replace it onto the spindle. You basically want to turn it into place tightly and then back it off enough to allow the hub to spin freely. With the nut tight, you will note that when you spin the hub it stops within half a turn. This is too tight and will result in excess heat and bearing failure. Back the nut off only enough so that the hub will spin freely.

Clean the nut retainer with brake fluid, dry it, and replace it onto the nut. Note, it can only be installed one way due to the flat spot on the ID that mates with the flat spot on the spindle. This retaining clip prevents the spindle nut from tightening or loosening.

Nut retainer installed.

Completely clean the old grease out of the hub cap, wash with brake fluid, dry, and replace onto the hub assembly. A wood block and hammer works well to tap it into place. Be sure to seat it firmly but this doesn't require pounding with the hammer. These just slip back in. Now is the time to finish filling the hub with grease. It works well to reinstall the wheel and tire, and spin it on the hub assembly while adding grease with a grease gun. The grease will begin to squish out the hub cap as seen in the photo. Add a little more, smear it around evenly and you're done.

Wipe clean the rubber cap cover and replace into the hub cap.

I also added a bearing buddy bra over the hub to help contain any grease that may leak out as well as to protect against losing the rubber cap.
I recommend bringing the grease gun with you on your next trip with the trailer and try adding more grease once the grease has been warmed up to work any remaining air out of the hub assembly / bearings and maximize the amount of grease in the hub assembly.


